Show One-Click video in separate window
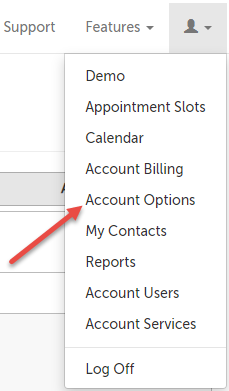
1. Click on the head and shoulder icon and select Account Options.
- If your account has multiple users and you are changing only for yourself, click "My Options".
- If your account has multiple users and you are changing only for one user, click "Account Users". Then click the "Options" button next to the specific user you want to edit settings for.
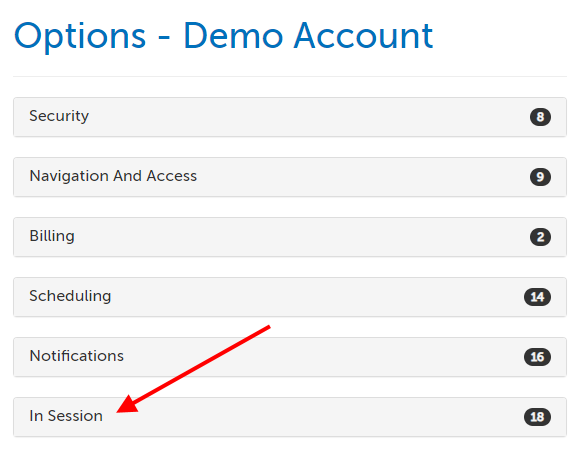
2. Click to expand the "In Session" section.
3. Scroll to the option "Show One-Click video in separate window" and select "Yes" or "No". Selecting "Yes" will launch the One-Click session in a separate window from your dashboard, more like an installed app would behave. Selecting "No" will launch the One-Click session in the current window, and you can use the "Dashboard" button to make the windows smaller if you still want to access your dashboard. The change will save automatically.

One-Click Meeting Elapsed Time
1. Click on the head and shoulder icon and select Account Options.
- If your account has multiple users and you are changing only for yourself, click "My Options".
- If your account has multiple users and you are changing only for one user, click "Account Users". Then click the "Options" button next to the specific user you want to edit settings for.
2. Click to expand the "In Session" section.
3. Scroll to the option "One-Click Meeting Elapsed Time" and select "Yes" or "No". Selecting "Yes" will add a timer to the upper right hand corner of a One-Click session that will track how long you have been in the session. Selecting "No" will mean that there is no timer. The change will save automatically.
Use One-Click Doorbell Sound
1. Click on the head and shoulder icon and select Account Options.
- If your account has multiple users and you are changing only for yourself, click "My Options".
- If your account has multiple users and you are changing only for one user, click "Account Users". Then click the "Options" button next to the specific user you want to edit settings for.
2. Click to expand the "In Session" section.
3. Scroll to the option "Use One-Click Doorbell Sound" and select "Yes" or "No". Selecting "Yes" will enable a doorbell sound to chime every time a new participant joins a session. Selecting "No" will mean that there will be no notification of a new participant joining a session. The change will save automatically.

One-Click Empty Room Host Message
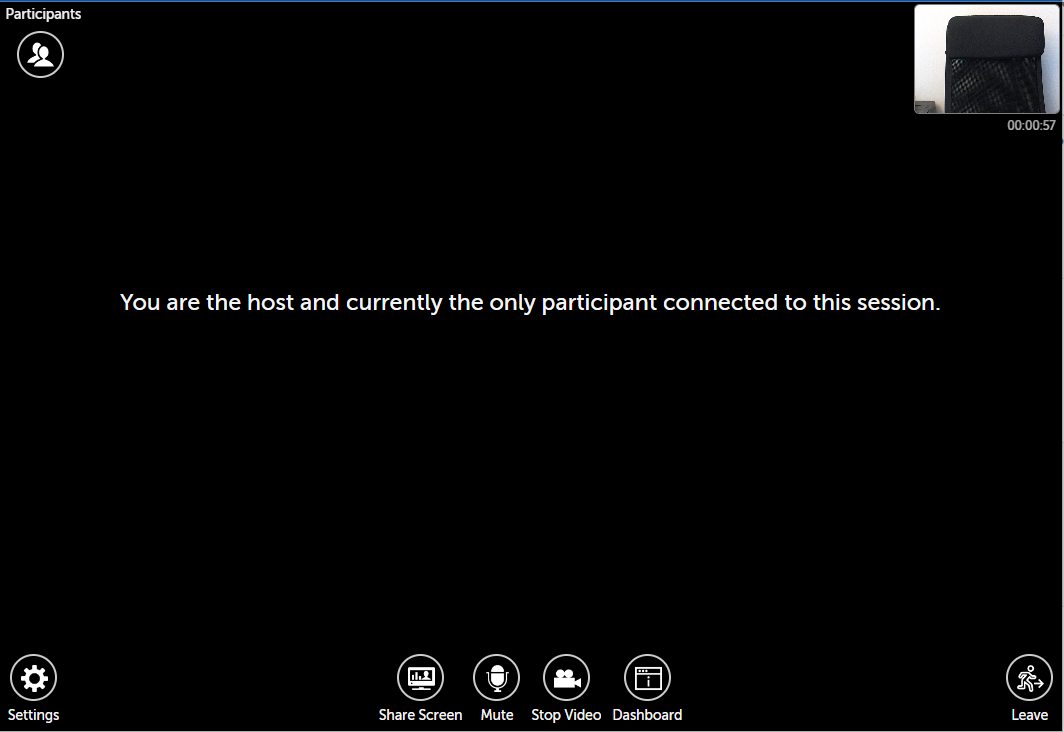
Here is an example of what a host would see if they click "Enter Meeting" when there are no other participants (or after all participants have left), with the default text:
1. Click on the head and shoulder icon and select Account Options.
- If your account has multiple users and you are changing only for yourself, click "My Options".
- If your account has multiple users and you are changing only for one user, click "Account Users". Then click the "Options" button next to the specific user you want to edit settings for.
2. Click to expand the "In Session" section.
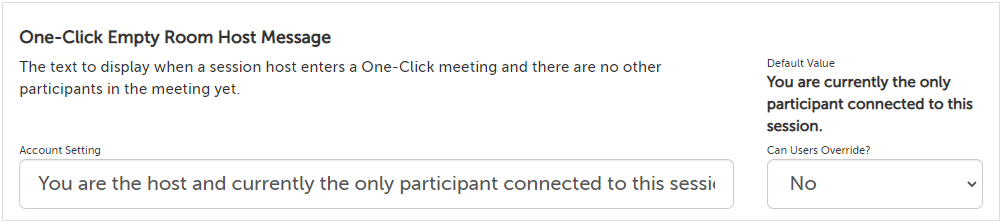
3. Scroll to the option "One-Click Empty Room Host Message". The default text is "You are the host and currently the only participant connected to this session."
You can make changes to this text, which is what will appear to a host that has entered a session with no other participants. Changes will save automatically.
One-Click Empty Room Participant Message
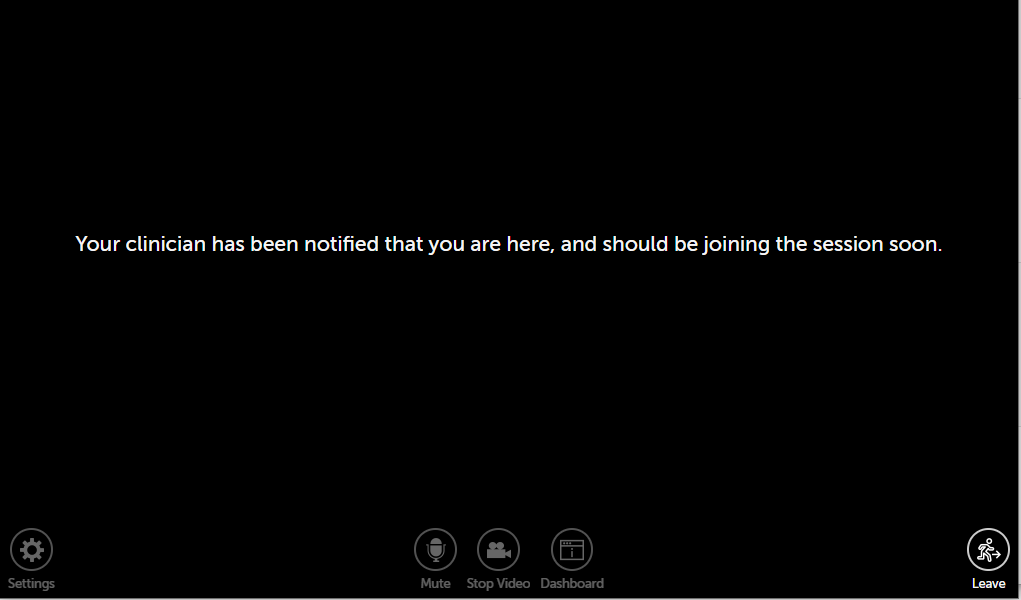
Here is an example of what a participants would see if they click "Enter Waiting Room" before the host has arrived (and the waiting room has been enabled), or if the waiting room is not enabled, then before other participants have entered.
1. Click on the head and shoulder icon and select Account Options.
- If your account has multiple users and you are changing only for yourself, click "My Options".
- If your account has multiple users and you are changing only for one user, click "Account Users". Then click the "Options" button next to the specific user you want to edit settings for.
2. Click to expand the "In Session" section.
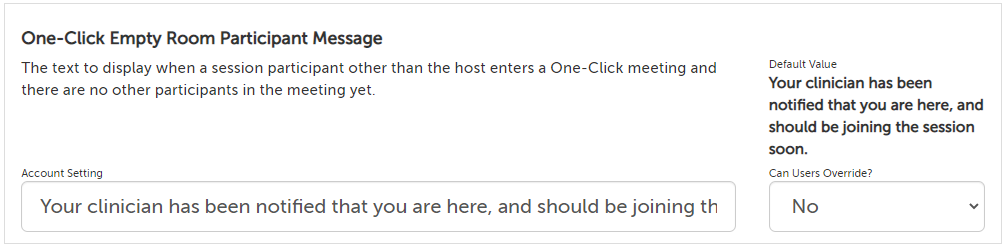
3. Scroll to the option "One-Click Empty Room Participant Message". The default text is "Your clinician has been notified that you are here, and should be joining the session soon."
You can make changes to this text, which is what will appear to a participant who clicks "Enter Waiting Room" before the host has arrived (and the waiting room has been enabled), or if the waiting room is not enabled, then before other participants have entered. Changes will save automatically.
This article was last reviewed by our Support team on October 14, 2022.